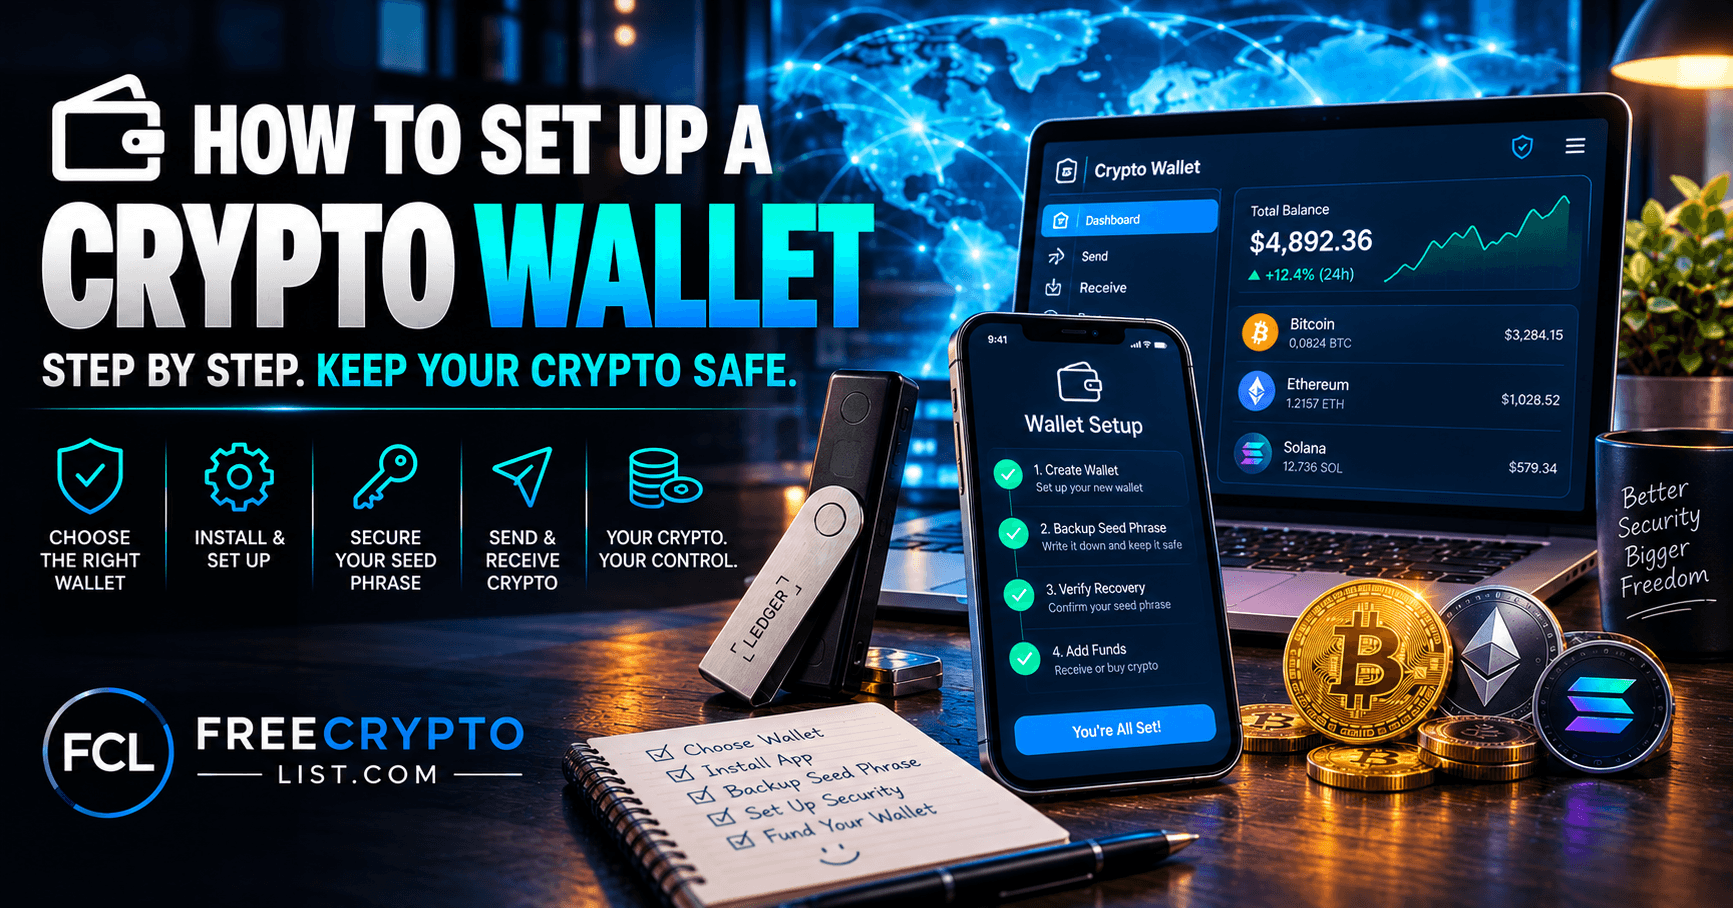
How to Set Up a Crypto Wallet in 2026 (Step-by-Step Beginner’s Guide)
Updated September 27, 2026
If you’re new to crypto, setting up a wallet is the single most important first step you’ll take. Without one, you can’t receive faucet earnings, claim airdrops, store survey rewards, or participate in any of the opportunities on this site.
The good news – it takes less than 5 minutes, it’s completely free, and you don’t need any technical experience. This guide walks you through everything step by step.
What Is a Crypto Wallet?
A crypto wallet doesn’t store the actual coins – it holds the private keys, or passwords, you need to access your crypto. Your cryptocurrency lives on the blockchain, and your wallet is simply the tool that proves you own it and lets you send or receive it.
Think of it like an email account. Your emails live on a server – your email app is just what you use to access them. Same idea.
There are two main types of wallets you need to know about:
Hot wallets – software apps on your phone or computer. Free, convenient, always connected to the internet. Best for everyday use and small amounts.
Cold wallets – physical hardware devices that store your keys completely offline. Cost $60-$400 depending on the model, much harder to hack. Best for storing larger amounts long term.
For most beginners, starting with a free hot wallet is the right move. You can always add a hardware wallet later once your balance grows.
Which Wallet Should You Set Up First?
For beginners using this site, we recommend starting with one of these two:
Coinbase Wallet – easiest for complete beginners, great customer support. (Quick note: Coinbase briefly renamed this app “Base App” for about a year as a social-features experiment, but reverted it back to Coinbase Wallet in September 2026 – if you saw the “Base App” name somewhere recently, it’s the same product.)
Trust Wallet – best if you’re on mobile and want to support many coins.
Both are free, non-custodial (meaning you control your own keys), and work perfectly for receiving faucet earnings and airdrop rewards.
We’ll walk through setting up both below.
How to Set Up Coinbase Wallet (Mobile)
On your phone, go to the Apple App Store or Google Play Store, search for “Coinbase Wallet,” and install it. Be sure not to install Coinbase, which is the exchange app – they are two different things.
Step 1 – Download the app Search for “Coinbase Wallet” in your app store and install it. Double-check it’s the official app by Coinbase.
Step 2 – Create a new wallet Open the app and tap “Create a new wallet.” You won’t have to enter personal details – select a username and password to get started.
Step 3 – Write down your seed phrase This is the most critical step. The app will show you 12 random words – your seed phrase. Write these words down on paper and store them somewhere safe. Coinbase’s app now also offers an optional cloud backup (iCloud or Google Drive) as a convenience feature – we don’t recommend it as your primary backup, since it ties your crypto’s security to your cloud account’s security. Paper, stored offline, is still the safer default.
Step 4 – Confirm your seed phrase The app will ask you to select the words in the correct order to confirm you wrote them down. Complete this step carefully.
Step 5 – Enable biometric security Turn on Face ID or fingerprint unlock for an extra layer of security when opening the app.
That’s it – your Coinbase Wallet is ready to use!
How to Set Up Trust Wallet (Mobile)
Step 1 – Download the app Go to your app store and search for “Trust Wallet.” Install the official app – it’s passed 200 million downloads and has a blue shield logo.
Step 2 – Create a new wallet Open the app and tap “Create a new wallet.” Accept the terms and conditions.
Step 3 – Back up your seed phrase Trust Wallet will show you 12 words. Same rule applies – write them on paper, store safely, never share with anyone.
Step 4 – Verify your backup Select the words in the correct order to verify you’ve recorded them properly.
Step 5 – You’re in! Your wallet is live. You’ll see your balance dashboard and can find your wallet address by tapping any coin and selecting Receive.
Understanding Your Wallet Address
Once your wallet is set up, you’ll have a public wallet address – a long string of letters and numbers that looks something like this:
0x71C7656EC7ab88b098defB751B7401B5f6d8976F (Ethereum)
or
bc1qxy2kgdygjrsqtzq2n0yrf2493p83kkfjhx0wlh (Bitcoin)
This is your receiving address – the equivalent of your bank account number. You can share it freely with anyone who wants to send you crypto. It cannot be used to take money from you.
To receive crypto, simply tap Receive in your wallet, select the coin, and copy your address or scan your QR code.
The Golden Rules of Wallet Safety
- Your seed phrase is everything. Never enter your recovery seed phrase into any computer, website, or mobile app. Legitimate wallet providers will never ask for it. Anyone who has your seed phrase has full access to your funds – no exceptions.
- Store your seed phrase offline. Write it on paper. Keep two copies in two different safe locations. Some people engrave it on a metal plate for fireproof storage, or use a dedicated backup device like the Ledger Recovery Key. Avoid cloud storage as your primary backup.
- Always double-check addresses. Before sending any crypto, verify the recipient’s address carefully. Crypto transactions are irreversible – there’s no undo button and no customer service to call if you send to the wrong address.
- Use “hot checking, cold savings.” Use a hot wallet for small amounts and everyday actions like receiving faucet rewards and claiming airdrops. Use a cold wallet for long-term holding and larger balances. This setup limits losses if a hot wallet gets compromised.
- Only download from official sources. Always download wallet apps from the official app store or the wallet’s official website. Fake wallet apps are a common scam – see our guide on wallet-drainer approval scams for how these attacks actually work.
How to Add Your Wallet to Faucet & Airdrop Sites
Once your wallet is set up, here’s how to connect it to earning platforms:
For faucet sites – Go to your account settings on the faucet site and find the withdrawal or payout section. Paste your wallet address for the relevant coin (usually Bitcoin or Ethereum). Our best crypto faucets guide is a good place to start.
For airdrop sites – Most airdrop platforms ask for your wallet address during signup. Paste your public address – never your seed phrase or private key. See our best crypto airdrops guide for current opportunities.
For Learn & Earn (Coinbase/Binance) – These pay directly to your exchange wallet, so no separate setup is needed.
Ready to Upgrade? Cold Wallets Explained
Once you’ve accumulated a meaningful amount of crypto, consider moving it to a hardware wallet for maximum security. We’ve written full, honest reviews of all three of our top picks:
- Ledger – the biggest name, widest model range (~$59 to ~$399), certified secure element in every current model
- Trezor – fully open-source hardware and firmware since 2014, current lineup runs ~$79 to ~$249 (the old budget “Model One” has been discontinued)
- Tangem – easiest to use, no seed phrase required by default, starts at $59.90
Read the individual reviews for the full breakdown of each, or see our Best Crypto Wallets for Beginners roundup for a side-by-side comparison. If you land on Ledger specifically, our step-by-step Ledger setup guide walks through the full process.
Conclusion
Setting up a crypto wallet takes less than 5 minutes and costs nothing. Start with Coinbase Wallet or Trust Wallet, write down your seed phrase on paper, and you’re ready to start collecting all the free crypto opportunities on this site.
The most important thing to remember – your seed phrase is your responsibility. Keep it safe, keep it offline, and never share it with anyone.
Now that your wallet is ready, check out our guides on the best crypto faucets, crypto airdrops, and survey & task sites to start earning your first free crypto today. For a broader look at staying safe as you go, our crypto security guide covers phishing and scam patterns beyond just wallet setup.
No, they’re different apps. Coinbase is the exchange where you buy and sell crypto with a regular account. Coinbase Wallet is a separate, non-custodial app where you control your own private keys directly – make sure you download the correct one.
If you lose your seed phrase and also lose access to your device or app, your funds are permanently unrecoverable – there is no password reset or customer support fix for a self-custody wallet. This is why writing it down and storing it safely in more than one location matters.
Some wallets, including Coinbase Wallet, now offer optional cloud backup for convenience. We don’t recommend it as your primary backup, since it ties your crypto’s security to your cloud account’s security. Paper stored offline in a safe location is still the safer default.
Once your holdings are worth more than a few hundred dollars, a hardware wallet is worth the cost. Keep smaller, everyday amounts in a hot wallet like Coinbase Wallet or Trust Wallet, and move larger long-term holdings to cold storage.
No. Your public wallet address is safe to share – it only lets people send you crypto, not take it. Only your seed phrase or private key can be used to access and move your funds, and that should never be shared with anyone.
Back to How-To Guides
📬 Want to be notified when new airdrops go live? Join our free Airdrop Alerts list – no spam, unsubscribe anytime.
Set Up a Wallet · Buy First Crypto · Receive Crypto · Stake Crypto · Choose a Validator · Ledger Setup · Bridge Crypto · Gas Fees · Stay Safe · Scam Warning · Evaluate Projects · Track Portfolio · Crypto Taxes